Coloring Tutorial I Guess
Coloring tutorial I guess

That's my most default shading style, a hybrid of line drawing and painted shadows, and I'll tell you exactly how to get this look. But before we start, you need a weapon This is my main brush for basically anything, including line art on days when I don't feel like switching to something actually intended for inking. It's a lightly textured square brush with color variation on every stamp. Intended for Procreate but you can always just rip the alpha texture out of the file and use it for a brush in any drawing program. That out of the way, let's go. I'll use the same line art as the one in fluff tutorial. Set the line layer to ~60 or so opacity and get to blocking in the base colors of your character. The jitter brush will introduce some color variation on it's own, but changing the color occasionally will add more visual interest.

After this I add a multiply layer on top and dab orange or red in places where we might be able to see the base of the hairs or peek at the carapace underneath.

It's places where hair parts and where it's shorter. This accent color works great on joints as well. Example of the thing I'm going for in real life:

Especially visible behind the head. It's not present on every moth to be fair, but I like to add these accents even where it wouldn't make sense, just because it looks nice. Even on insects without hair. Block in the eyes and mandibles now, best if it's on separate layer.

Now, the actual funny tricks begin. If you're one of the people who only use multiply or add blend modes, stop it, get some help Understanding the math behind blend modes is gonna get you a long way. My lineart is set to subtract more often than not. I find it produces juicier and more colorful results than multiply. I want to give this picture a warm orange feeling, so the color of my lines should be the opposite - blue.

And, subtract.

Perfect, but not quite. We can push the lines to an even softer feeling. Take the line layer, copy it, invert the color and set to multiply. I then throw gaussian blur on the resulting copy and reduce opacity until the lines bleed into the surroundings just a little bit.

On to actual shading. People who shade without getting in some background first scare me, so let me throw something together real quick.

A simple gradient will also suffice for this use. We just need some information on which colors are present in the surroundings. Copy your background, bring it on top of your character layers and gaussian blur it real hard. Set it to multiply, remove all parts of the layer that go beyond the pixels of the base color layer. Adjust opacity until the character fits in the background.

Let's identify the light sources. In this case it's only the sky, but it produces two distinct colors - soft blue lighting comes from the top, slightly stronger red comes from behind. The blue light I set to exclusion blend mode because it felt most appropriate in this case. Both add and screen looked too strong to be the light coming from such dark sky.

In this lighting context the lower part of the body will receive less light that the upper part. I use the green of the bushes set to multiply to darken the bottom.

The character is surrounded by all kinds of soft light, but it can't get everywhere. It's time to add ambient occlusion, or contact shadows, for those without a 3d background. Anywhere where there is a crevice or surfaces almost touch, a soft shadow will form.
I do it on a multiply layer with a neutral gray-green color. Gray because any color light isn't really getting in there and green because the fluff is somewhat transparent and whatever light does pass through it gains a greenish hue.

Last step, red rim light from the fading sunset behind the character.

Since it's rim light I just work with normal blending mode. Setting it to add or something of the sort would make the rim light brighter than the source of the light. And it'd be odd.
And that's it. I usually throw on some post processing in Snapseed. Pull some curves, throw on a bit of grain, etc. But it's a topic for another time.
In conclusion, try to think about the environment more when shading. What route does light go through to reach where you're coloring? Did it reflect off of any colored surface? Did it pass through something transparent to gain a different hue? What color shadow would this ambient lighting produce? Go have fun with your colors now.
More Posts from Observationsilencejoy and Others
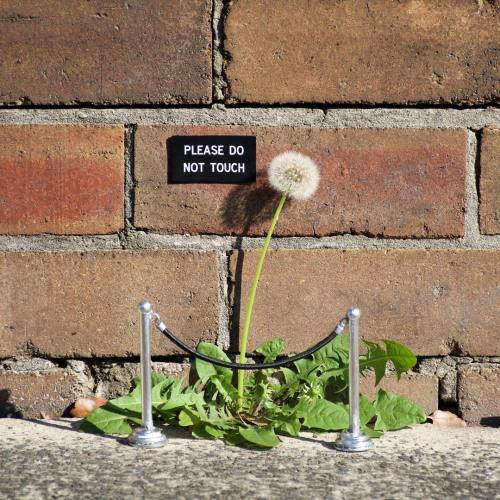
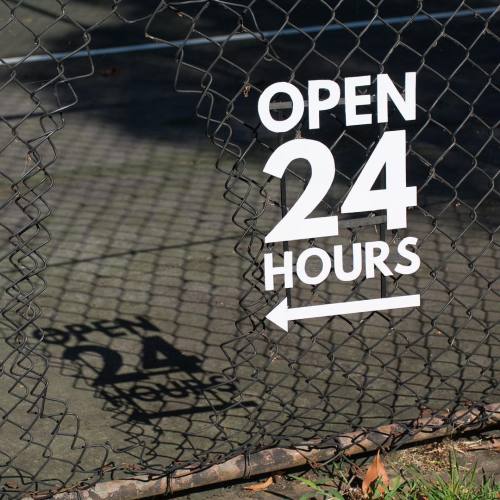
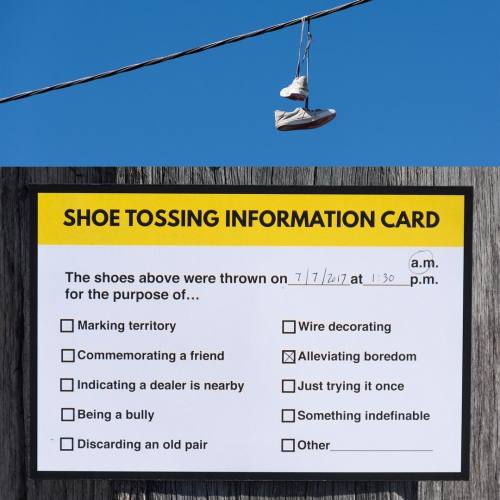
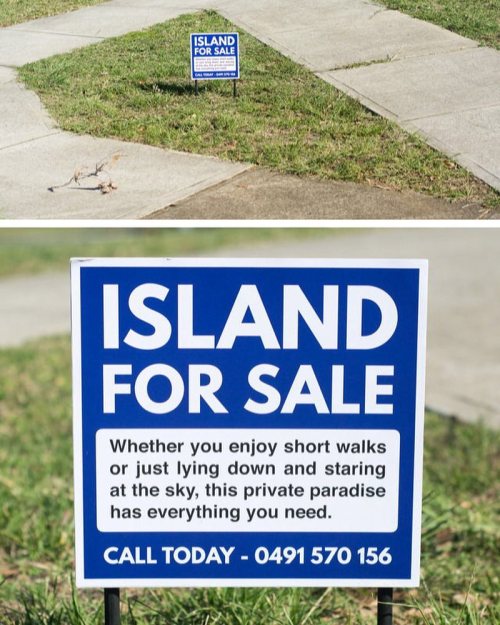
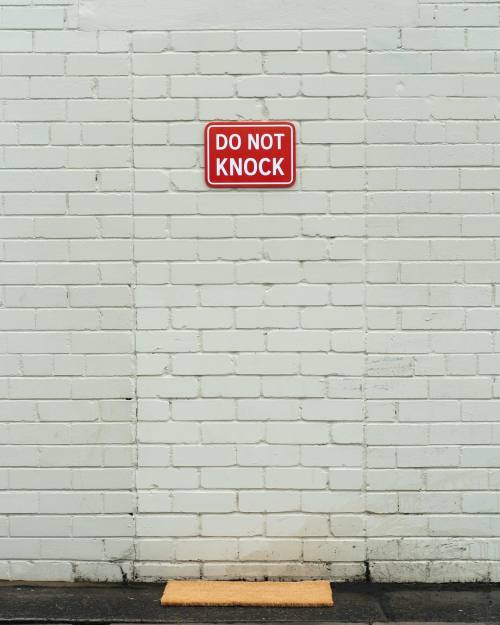
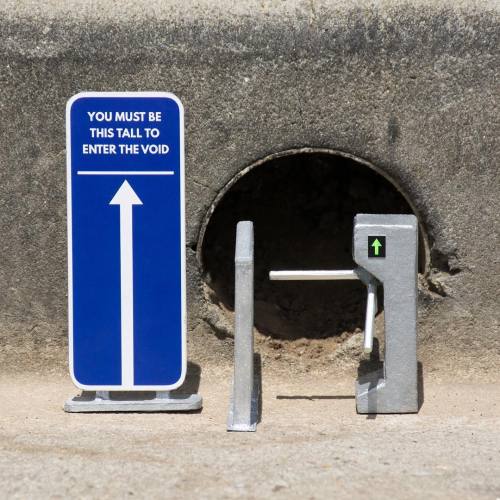
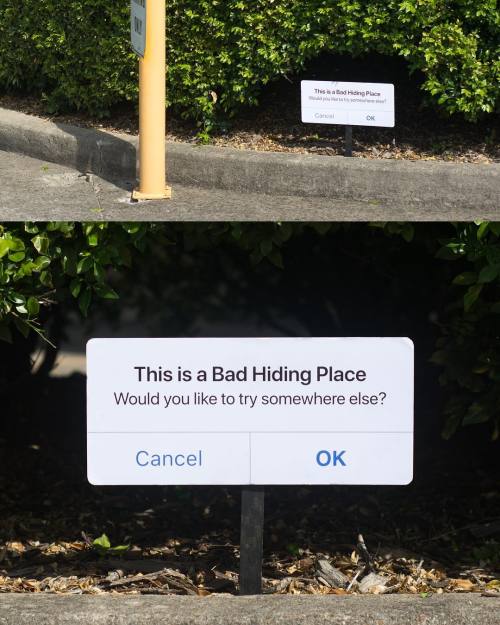


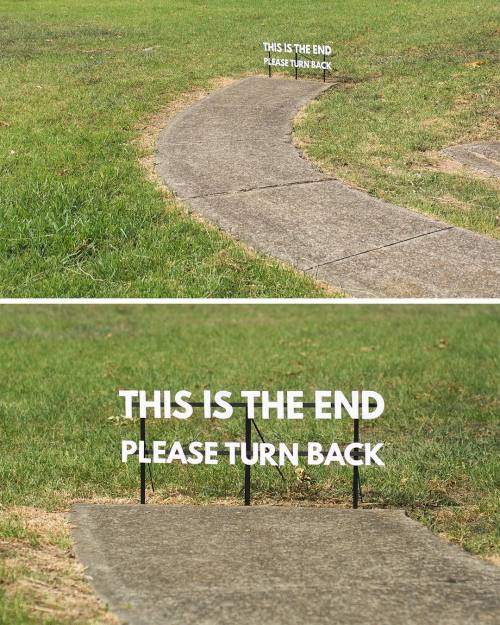
Street Artist Transforms Ordinary Public Places Into Funny Installations
michael-pederson miguel-marquez


the parade.
a short comic about when love dies slow.
support me on patreon
Читать дальше
Collection of images and memes for anyone who doesn’t know what to draw


Artwork by PaintDust


Warped medullary rays found on pieces of wood that resemble animals
The key shortcut of "windows key" and "." held together has changed my life
like

emoji access? supremely powerful 🙂💖
But
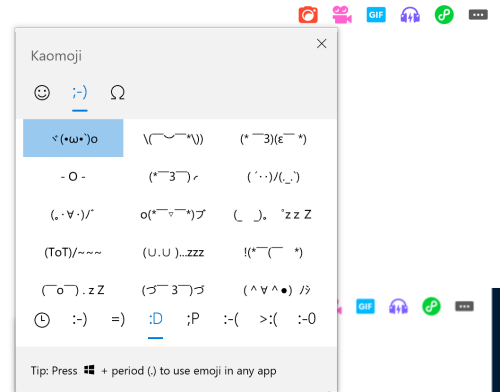
Kaomoji ?
The year is 2013 and I am unstoppable ヾ(•ω•`)o o(* ̄▽ ̄*)ブo(*°▽°*)o

the orange by wendy cope 🍊


Enjoy Annotation - Ghosts separates on three types: those who dead by soul and lost their heart, and as so they can't die forever. Those who dead by soul but haven't lost their heart, and as so they can die forever. And those whose soul still alive but they're lost their heart.
"I never thought of this ship before but I see it now :0" heh...

"hm I dont usually like this ship but-" mmn.

-
 sykimbr liked this · 1 week ago
 -
 toforeveryellow liked this · 3 weeks ago
 -
 jewin-your-mom reblogged this · 1 month ago
 -
 wyfern liked this · 1 month ago
 -
 graceful-morning liked this · 2 months ago
 -
 craftytrashnightmare liked this · 2 months ago
 -
 extragreentea reblogged this · 4 months ago
 -
 extragreentea liked this · 4 months ago
 -
 engi-scout-azure liked this · 4 months ago
 -
 33szygy33 liked this · 4 months ago
 -
 brigamia liked this · 5 months ago
 -
 carottalien liked this · 6 months ago
 -
 kalotilefil3rinstuff liked this · 6 months ago
 -
 originalname4865 liked this · 6 months ago
 -
 leminardlemon liked this · 6 months ago
 -
 rat-knight liked this · 6 months ago
 -
 cha0ticbuniii liked this · 6 months ago
 -
 spideytime liked this · 9 months ago
 -
 mightygiawulf reblogged this · 9 months ago
 -
 mightygiawulf liked this · 9 months ago
 -
 lilyblueskies liked this · 9 months ago
 -
 wingweaver24 liked this · 10 months ago
 -
 herakushi liked this · 10 months ago
 -
 dazzling-dragon-studios liked this · 10 months ago
 -
 spielbrecher liked this · 10 months ago
 -
 monsterfluffer liked this · 10 months ago
 -
 shadowsbutdead liked this · 10 months ago
 -
 creachr reblogged this · 10 months ago
 -
 gypsumcoyote liked this · 10 months ago
 -
 cucumberous liked this · 10 months ago
 -
 angeliccynthious liked this · 10 months ago
 -
 observationsilencejoy reblogged this · 11 months ago
 -
 observationsilencejoy liked this · 11 months ago
 -
 grigadf liked this · 11 months ago
 -
 poduromorpha reblogged this · 11 months ago
 -
 poduromorpha liked this · 11 months ago
 -
 daybreak-dragon reblogged this · 11 months ago
 -
 crevettby liked this · 11 months ago
 -
 cerasifera liked this · 11 months ago
 -
 cinnivi liked this · 11 months ago
 -
 weicheichen liked this · 11 months ago
 -
 mothbawls liked this · 11 months ago
 -
 tazova liked this · 11 months ago
 -
 weirddollmaker liked this · 11 months ago
 -
 mosaur liked this · 11 months ago
 -
 seimsisk reblogged this · 11 months ago
 -
 rosemarygin liked this · 11 months ago
 -
 faerietale1102 liked this · 1 year ago


